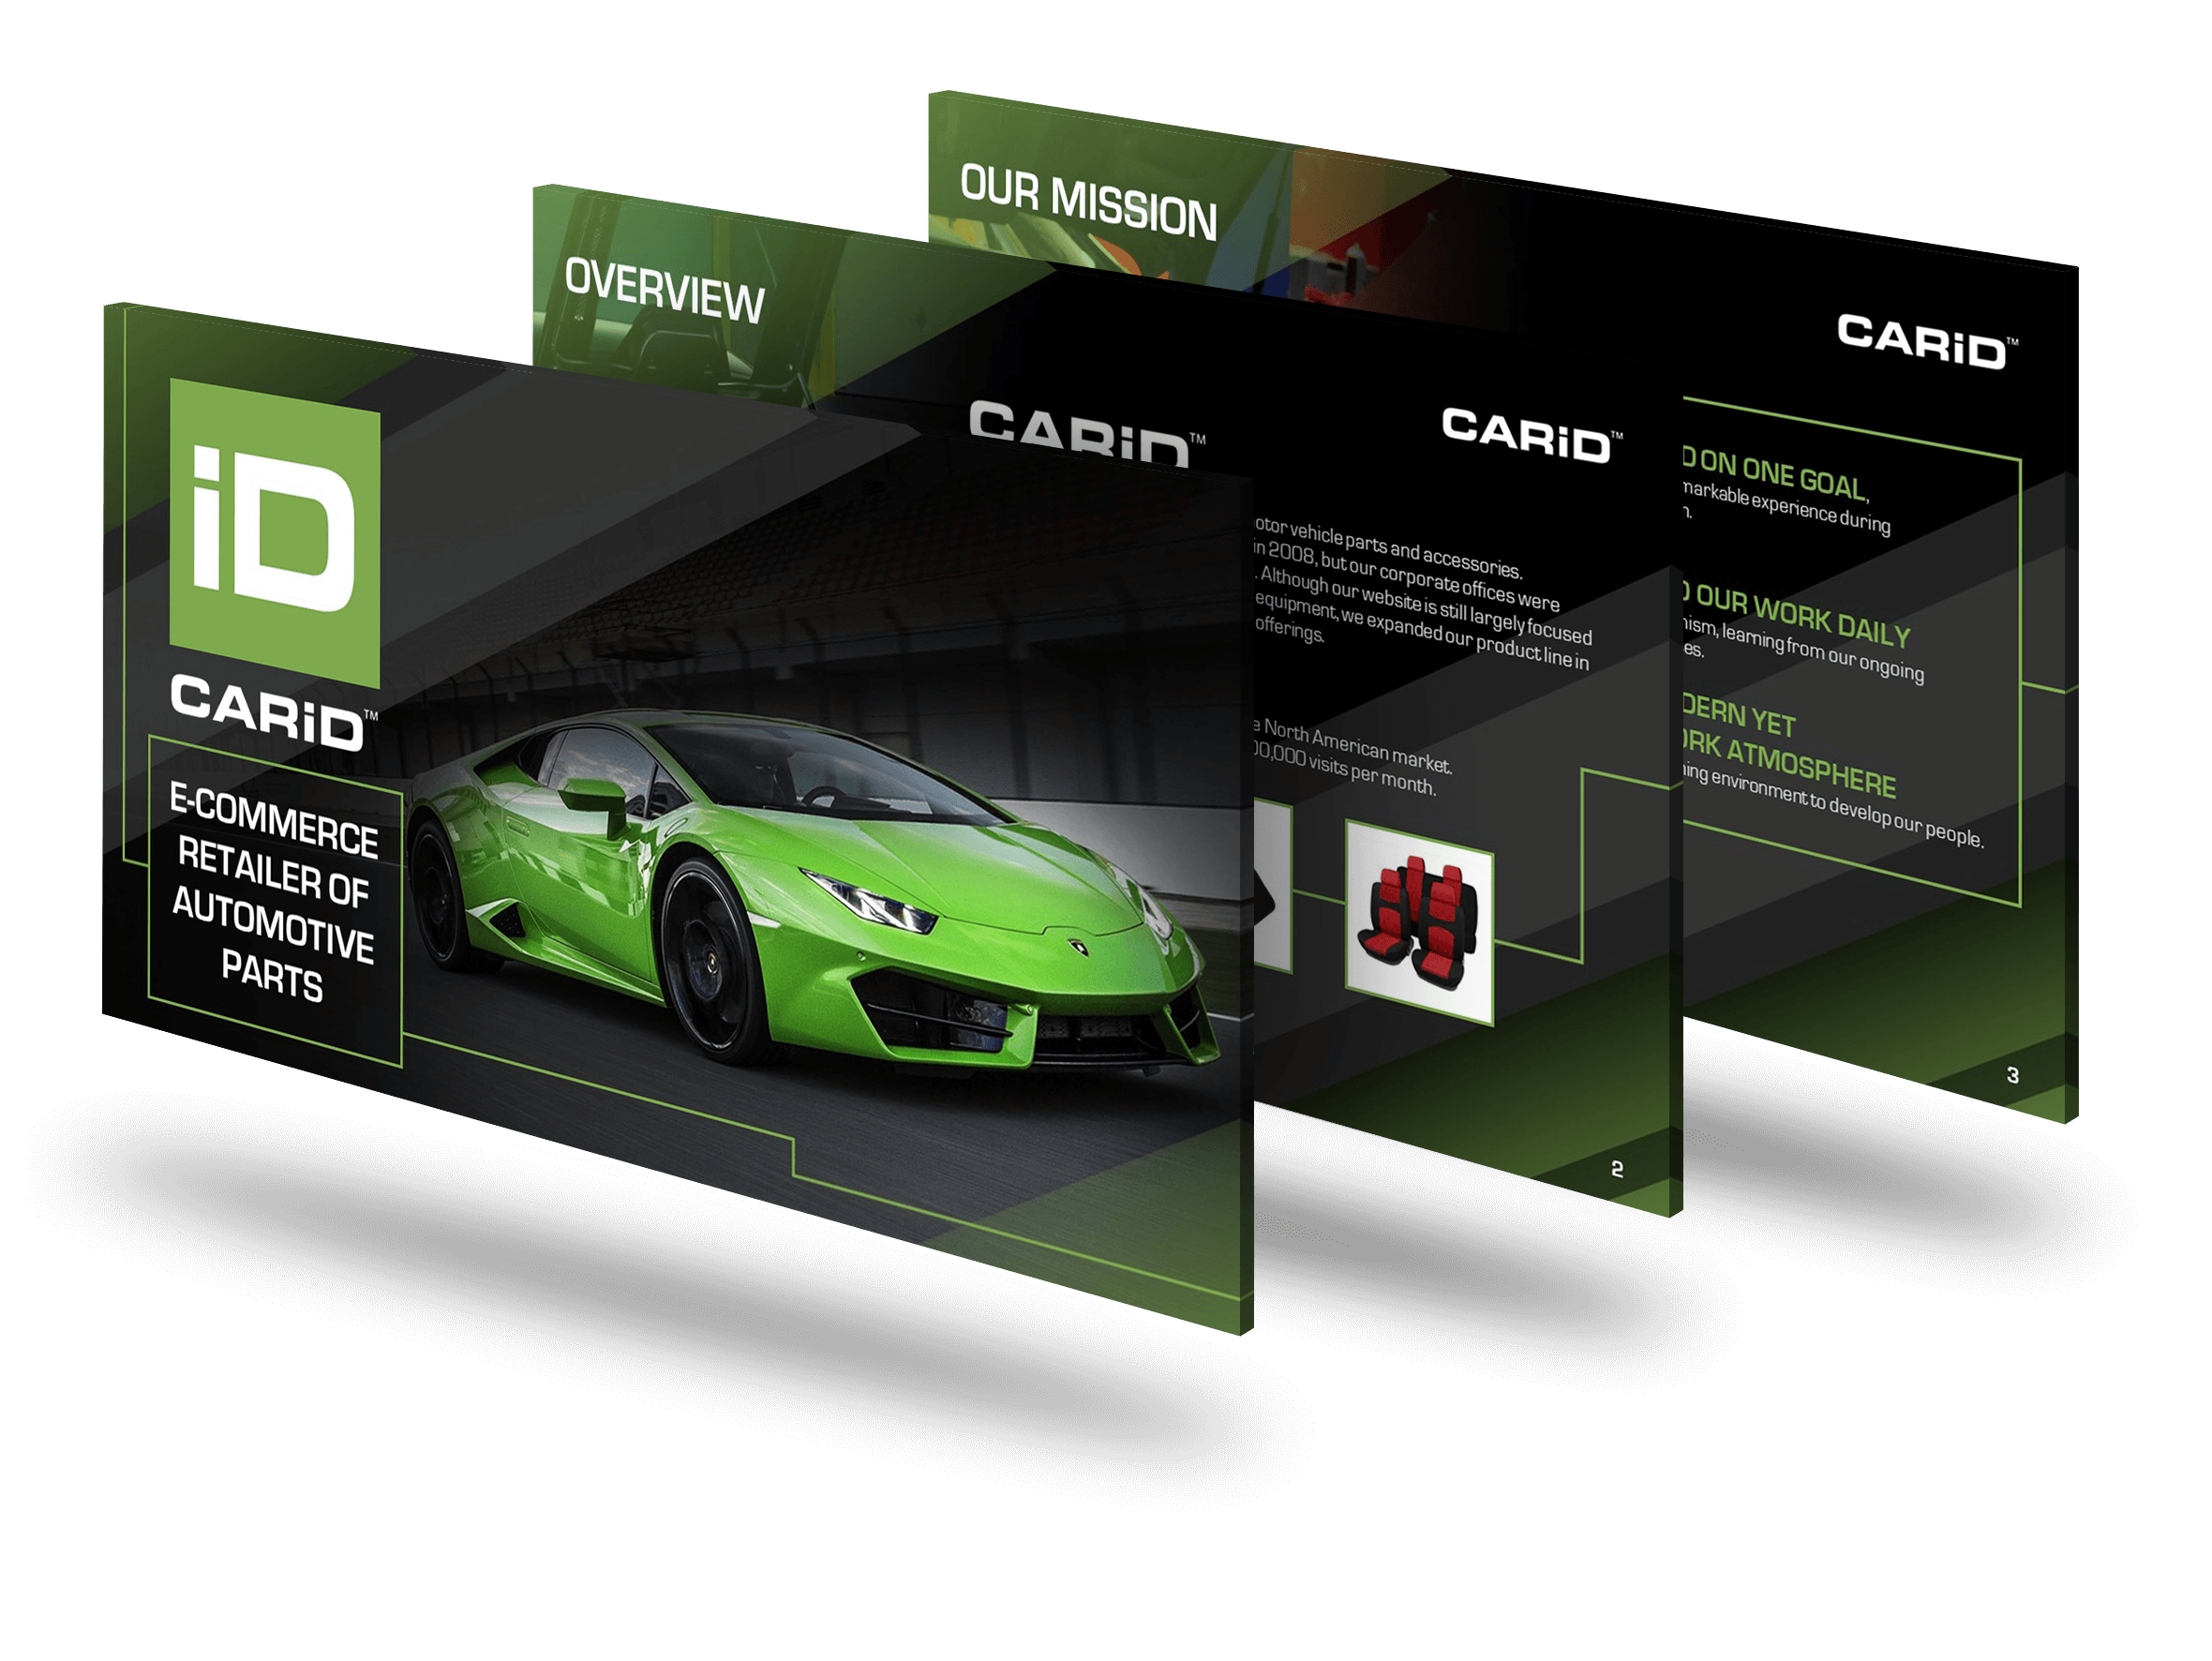
Creating a custom PowerPoint design template involves several key steps, from initial planning to final implementation. Here’s a detailed process to guide you through creating a professional and cohesive template for your presentations:
1. Plan Your Template Design
Define Your Purpose:
- Determine the main purpose of your template. Consider the types of presentations it will be used for and the specific needs of your audience.
Gather Brand Assets:
- Collect all necessary brand assets such as logos, color schemes, fonts, and any specific imagery that should be included in the template.
Outline Content Requirements:
- Identify the types of content that will be included in the presentations, such as text, images, charts, and infographics. This helps in designing appropriate slide layouts.
2. Set Up the Slide Master
Open Slide Master View:
- Go to the “View” tab and click on “Slide Master.” This will open the Slide Master view, where you can create and edit your template.
Edit the Master Slide:
- The Master Slide controls the overall design for your presentation. Add your logo, choose your primary colors, and set your fonts here to ensure consistency across all slides.
3. Customize Slide Layouts
Select and Customize Layouts:
- In the Slide Master view, you’ll see a list of slide layouts underneath the Master Slide. Customize each layout to fit your needs, such as title slides, content slides, section headers, and more.
- Add placeholders for text, images, charts, and other content types to ensure consistency in formatting.
Create New Layouts (if needed):
- If the default layouts don’t meet all your needs, you can create new ones. Right-click on an existing layout and select “Duplicate Layout” to create a custom layout based on an existing one.
4. Design the Background
Set Background Styles:
- Select a layout and click on “Background Styles” in the Slide Master tab. Choose from pre-designed backgrounds or create a custom one by selecting “Format Background.”
- Options include solid fill, gradient fill, picture or texture fill, and pattern fill. Choose one that aligns with your brand and presentation style.
5. Add Branding Elements
Incorporate Logos and Images:
- Insert your company logo and any other branding elements onto the Master Slide and necessary layouts. Position them appropriately so they appear on each slide but do not interfere with the content.
Use Consistent Design Elements:
- Ensure all design elements, such as lines, shapes, and icons, are consistent with your brand guidelines.
6. Customize Fonts and Colors
Set Custom Fonts:
- In the Slide Master tab, click on “Fonts” and select “Customize Fonts.” Choose the fonts for your headings and body text that align with your brand guidelines.
Create a Custom Color Palette:
- Go to the “Design” tab and click on “Colors” in the “Variants” group. Select “Customize Colors” to create a custom color palette. Choose colors that match your brand or the theme of your presentation.
7. Add Placeholders
Insert Placeholders:
- Add placeholders for text, images, charts, tables, and other content types. This ensures consistency in formatting and layout across different slides.
- To add a placeholder, select a layout, click “Insert Placeholder” in the Slide Master tab, and choose the type of placeholder you need.
8. Save Your Custom Template
Save as a PowerPoint Template:
- Once you’ve designed your slides, you can save your custom theme for future use. Go to the “File” tab, click on “Save As,” and choose “PowerPoint Template” (.potx) as the file type. This saves your template in the appropriate format.
9. Test and Refine
Test Your Template:
- Create a sample presentation using your new template to ensure everything works as expected. Check for consistency, readability, and overall visual appeal.
- Make any necessary adjustments to the Master Slide or individual layouts.
Refine the Design:
- Gather feedback from colleagues or stakeholders and refine the design as needed. Ensure that the template meets all your requirements and aligns with your brand.
10. Provide Usage Guidelines
Create a Style Guide:
- Develop a style guide that outlines how to use the template, including guidelines for fonts, colors, image placement, and slide layouts. This ensures consistent use of the template across your organization.
Training:
- Offer training sessions or resources to help your team understand how to effectively use the new template.
Conclusion
Creating a customized PowerPoint design template involves careful planning and attention to detail. By setting up a Slide Master, customizing slide layouts, designing backgrounds, incorporating branding elements, and saving your work as a template, you can streamline the creation of professional presentations that consistently reflect your brand identity. Regularly test and refine your template to ensure it remains effective and visually appealing. Providing usage guidelines and training helps ensure that the template is used correctly and consistently by your team.
View Our Presentation Portfolio


