Unsaved work can happen for a number of reasons. It can happen when there’s a power failure or a system crash, or for whatever reason, maybe you just forgot to hit “Save.”Don’t worry. Recovering an unsaved file is possible in PowerPoint. In fact, there’s more than one way to recover it. These features are enabled by default, so you’re guaranteed to get your file back.Be warned that it’s generally not recommended to change these settings because you’ll never know when you need to save unsaved work again.This guide will point you to where an unsaved file usually goes and what to do to recover it.
Unsaved Files
For owners of Microsoft Office 2010 and higher, recovering an unsaved file is made even easier. However, for users that have the older version of Microsoft Office, refer to this link.This tutorial will be using PowerPoint 2013, meaning we can access the option also known as AutoRecover.1. Go to the ribbon and click on File. 2. In the second column that displays Recent Presentations, scroll down to the bottom and you’ll see a button that reads Recover Unsaved Presentations.
 The files in this folder are only stored temporarily, so save your recovered file properly once you find it. Temporary files are deleted automatically from the system. Do not rely on recovery methods to save your work.3. A dialog box labelled “Open” will appear which will contain your unsaved file.
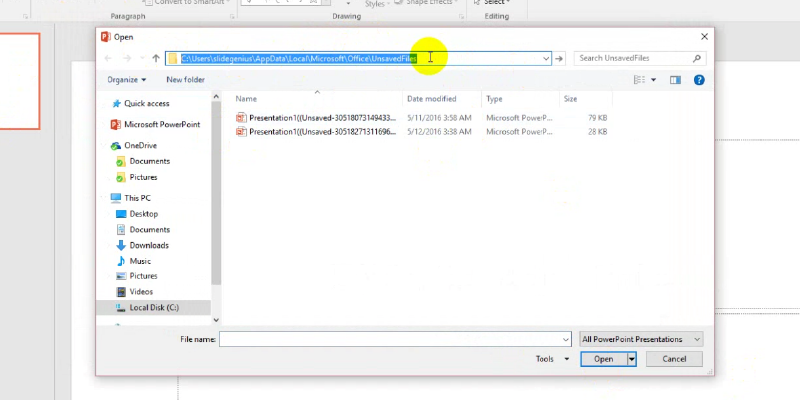 Click on the address bar as highlighted in the image. This will show the filepath, displaying the exact location of your file.Copy and paste the filepath to Windows Explorer: C:Users<username>AppDataLocalMicrosoftOfficeUnsavedFilesDon’t forget to replace <username> with yours when copying the filepath from this article:You can retrieve an unsaved presentation using this method with ease.
Interrupted Changes
This next method is suitable when your changes were interrupted and you wish to restore the changes you made in your work.1. Go to the ribbon and click on File> Options.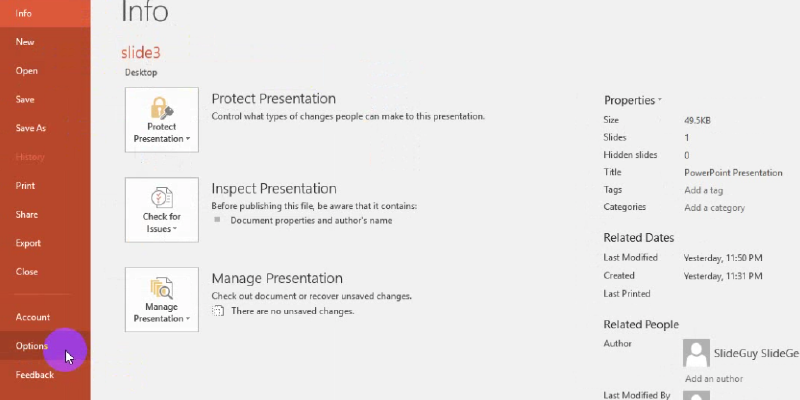 2. A dialog box called “PowerPoint Options” will appear. Go to Save and see if the boxes are checked ☑ in the highlighted image. If yes, then you may proceed to the next step.
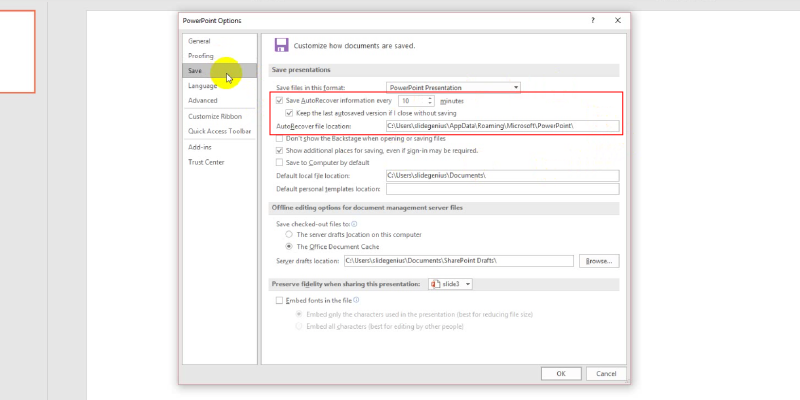 These options need to be present to restore your file’s unsaved changes. You won’t be able to recover your file’s previous state when these aren’t checked.3. Copy the filepath located in the box beside AutoRecover file location. The file can be directly accessed by pasting the filepath in Windows Explorer.
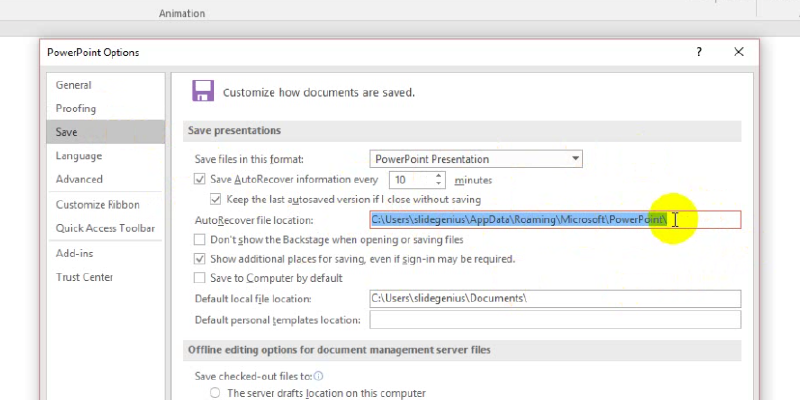 Since this tutorial uses PowerPoint 2013 and runs on Windows 8, the filepath looks like this:C:Users<username>AppDataLocalMicrosoftOfficeUnsavedFilesThis filepath will lead you directly to your file. Save this as a separate PowerPoint file and pick up the changes from where you left off.
A Few More Pointers
Avoid relying too much on the recovery functions to save your work because they’re only hosted temporarily in their respective folders. If you leave them there, you’ll never be able to retrieve them after a certain period of time has passed. Always remember to save your files outside of these temporary file folders.You also don’t want to risk damaging or corrupting your presentation save-states by changing the save settings in PowerPoint. It can be tempting to tweak the settings, but only advanced users should make these changes. In fact, changing these settings is highly discouraged because file recovery is placed there by default for good measure.Save yourself from any potential headaches in the future and save your files properly.
Resource:
“Recovery of MS PowerPoint Content from Temp Files.” office–recovery.com. www.office-recovery.com/powerpoint.asp