Presenting Perfection: How to Avoid Five Common PowerPoint Design Blunders

bullet points

powerpoint presentation

Pwerpoint design mistakes

It’s perfectly normal to make mistakes when creating PowerPoint presentations – the first few times. According to software consultant, Wendy Russell, there are ways to learn the basics of PowerPoint. But when you’re failing repeatedly without seeing the errors of your ways, you may need to be jolted back to reality.

There’s a reason why your audience members tend to stifle a yawn or stare blankly at the open window whenever you deliver a presentation: You have poorly designed PowerPoint slides.

Here are five of the most common PowerPoint design mistakes are probably guilty of:

1. Too Many Details

Slide decks are your visual tools to help you get your message across. When you put too many information details on a slide – be it in the form of text, charts, or images – you run the risk of overwhelming your audience.

Ideally, slides should convey only once concept at a time. To avoid the problem, many professional presenters follow the 6 x 6 rule. This requires limiting the number of lines in a slide to six and keeping the number of words per line to six.

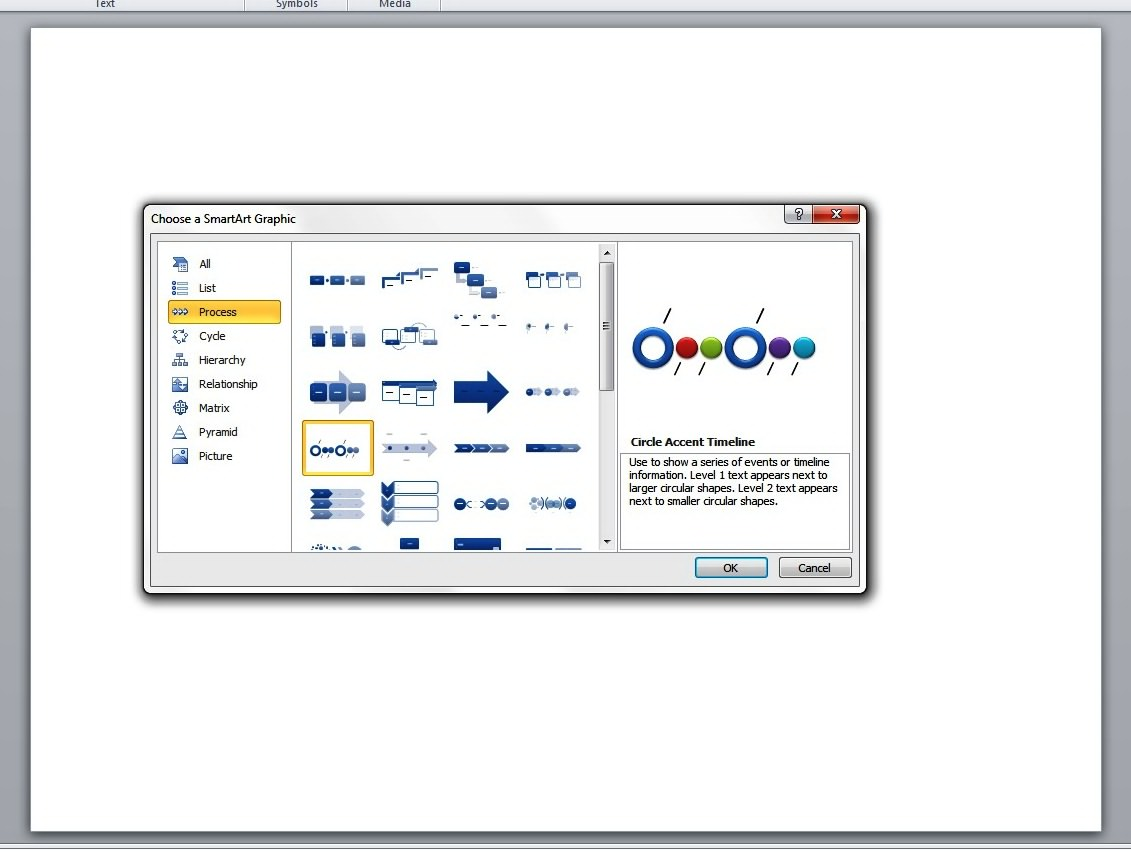
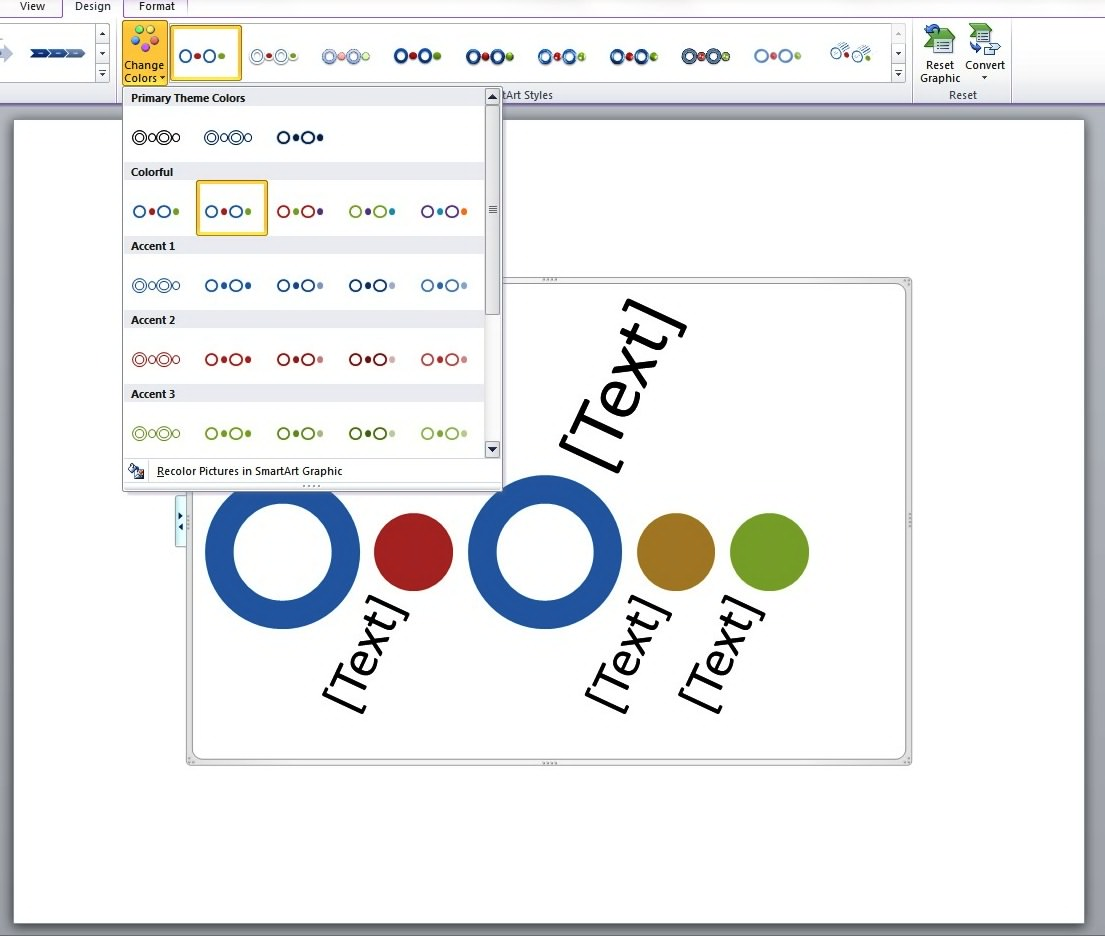
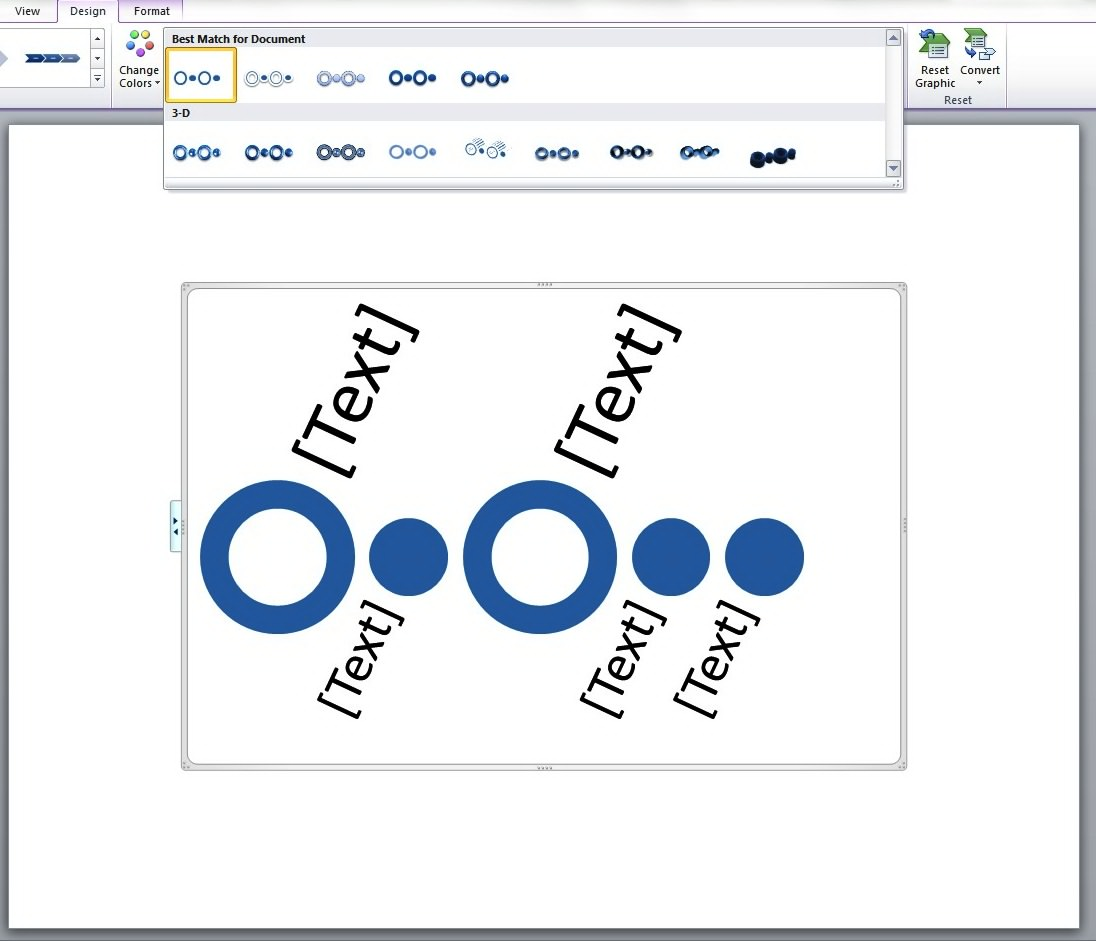
2. Poor Use and Choice of Images

Using images can help you explain an idea in a much simpler way. Inappropriate and low-quality images can create the opposite effect, though. Don’t just include any photos or clipart for the sake of having images up there. Be sure that there are clear connections between the images you choose and the points you are making.

Additionally, check if the images are of good quality by testing it out on a white wall. There are times that images would seem great on your monitor screen yet look bad when blown up and projected on a large screen.

3. Abuse of Effects and Other Fancy Features

If you think using too much animation, transitions, and sound effects can improve your presentation, you couldn’t be more wrong.

When it comes to special effects, less is more. Your audience will not be impressed with bullet points that constantly spin around, zoom in, blink, make sounds, etc. Try to make everything as simple as possible. The end result would be more powerful.

4. Several Bullet Points That Appear at Once

This is where you can apply animation appropriately. You see, having five to six bullet points appear on the slide at one time can be overwhelming to read.

The best thing to do is to reveal the points one at a time. This way, your audience will be able to focus better on each one. It would also keep them from reading ahead and tune you out.

5. Failing to Proofread

Nothing will make your PowerPoint presentation look more amateurish than typographical errors and spelling mistakes.

Apart from this, BBC education correspondent, Sean Coughland, cites online entrepreneur Charles Duncombe’s study in saying that bad grammar does cost companies millions. They won’t just distract your audience, but will also leave a bad impression, which may lead to a drop in revenue.

So always make sure to read your slides a couple times before declaring it good to go.

Conclusion

Remember, a good presentation can save a bad presenter. But a bad presentation would be hard to salvage even by the best presenter.

It would even make him look ridiculous and unprofessional. So which one would you rather be: a bad presenter backed by a well-designed presentation or a great presenter with a disastrous presentation?

It’s time to check what you’ve been doing wrong and apply the necessary changes on your next slides.

References

Coughlan, Sean. “Spelling Mistakes ‘cost Millions’ in Lost Online Sales.” BBC News. July 14, 2011. Accessed May 22, 2014.Russell, Wendy. “Ready to Learn to Use PowerPoint?” About.com Tech. Accessed May 22, 2014.

Creating a PowerPoint Timeline Using SmartArt

PowerPoint slide

shapes

SmartArt

Timeline slide

Last time, we created a basic timeline using shapes and tables. Today, we’re going to create another one but only this time, we’ll take advantage of the SmartArt feature in Microsoft PowerPoint 2010.SmartArt is useful for creating representations of a sequence of events in PowerPoint. This sequence of events can be a project milestone or an event timeline (which we’ll get back to in a bit).

The SmartArt Advantage

Basically, what SmartArt does is take the power and functionality of PowerPoint Shape on a different level.It allows you to mix and match shapes and text in order to create diagrams and other custom graphics. Using it strategically lets you create slides that both communicate your message and capture your audience’s attention.

Getting Started

Now let’s create a basic timeline with the help of SmartArt. You can start by opening a blank PowerPoint slide. Point the cursor to the Insert tab and click on SmartArt. Then select Basic Timeline.This is under the Process folder or the Circle Accent Timeline. As you hit OK, you will have to enter the necessary elements. (“Level 1 text appears next to larger circular shapes. Level 2 text appears next to smaller circular shapes.”)PowerPoint timeline

Enhancing the Look

You may change the color of the graphic by clicking on the Design tag and picking the colors and effects that you want for your timeline.timeline2The different shape effects that you may choose include shadow, cartoon, 3D effect and more.template2Adding your content and doing a bit of tweaking completes the process. With some practice, you will soon be able to create a more complex PowerPoint timeline design.SmartArt is an excellent functionality in PowerPoint that provides you with a wide range of visual options. Keep in mind, though, that it is still up to you to determine the appropriate graphic that matches your content. Because at the end of the day, SmartArt is simply a PowerPoint tool at your disposal that you can wield to your advantage.

References

Learn More about SmartArt Graphics.” Office Support. Accessed May 14, 2014.”Basic PowerPoint Timeline Creation: Shapes and Tables.” SlideGenius, Inc. May 09, 2014. Accessed May 14, 2014.

About SlideGenius SlideGenius.com is your PPT presentation design guru for your business. Based in San Diego, California, SlideGenius has helped more than 500 international clients enhance their presentations, including those of J.P. Morgan, Harley-Davidson, Pfizer, Verizon, and Reebok. Call us at 1.858.217.5144 and let SlideGenius help you with your presentation today!

Using PowerPoint Shape Tool to Create Powerful Presentations

graphics

PowerPoint shape

shape designs

shape tool

The Shapes tool in PowerPoint is very useful for creating diagrams, graphics and other visual elements for your presentations. Its large collection of shapes allows you to add balloons, borders, arrows, and other shape designs in your presentations. This functionality also helps create custom shapes depending on your design requirements.Working with PowerPoint Shape tool is very easy. It’s as simple as locating the Insert tab and clicking on Shapes. Doing so will launch a popup window where you can choose any shape that you need. To give you an idea, here are a couple of ways you can manipulate shapes in PowerPoint Slides:

Adding Text to Shapes

Draw a shape and then start typing to add text. By default, the texts will be centered on the shape, but you can change alignment by selecting them and using the contextual mini-toolbar.The text will not auto-re-size, however, to stay within the shape’s borders. It simply adjusts the shape as you continue typing.To control this, right-click on the shape and select Format Shape. Then, click Text Options and after that, Text Box. Depending on your preference, change it to either “Shrink text on overflow” or “Resize shape to fit text,”textNaturally, putting so much text on a shape is not exactly a great idea but at least you know how to work around it. As you create them, both text and the shape become part of the same object.Deleting the shape will also delete the text. If you want text to be separate from the shape, redraw the shape and use the Text Box tool when you type the text. If you need to move them together, you may choose to group them.

Changing a Shape into Another Shape

Let’s do this with the arrow shape. Choose the arrow from the Shapes menu and add it to your slide.UntitledClicking on it will cause two yellow diamonds appear on its opposite sides. These diamonds indicate the areas of the arrow that you can edit.arrw Click and hold the diamond on the left portion of the arrow. Then, try dragging it for a bit in a downward direction. You will see that this lets you control the width of the arrow’s frame. Click and hold the other diamond at the top of the arrow. Drag it to the right. Doing so allows you to manipulate the size of the pointer.arrw2As you control the yellow diamonds, you can change the way the arrow is shown on the slide.

These are just some of the ways you can play with PowerPoint’s Shape functionality. We’ll be doing some more demonstration in the following days, so stay tuned.