Slidegenius, Inc.

Jazz Up Your Sales Presentation With a Label Tag Created in PowerPoint

Using images to represent ideas is one of the best ways to enhance PowerPoint presentations. A product label tag, for example, is great in designing your deck during a sales presentation. According to Entrepreneur, in such presentations, it’s essential to establish your identity and address your customers’ needs.

If ever you need a tag to back up your points and differentiate yourself from the competition, you can always search for custom images of these tags on the Internet and tweak them to your advantage.

Or better yet, create one that you can easily customize using the Shape functionality in PowerPoint. This tutorial will show you how to do it using the Shape and Text tools in PowerPoint 2010.

Drawing the Frame

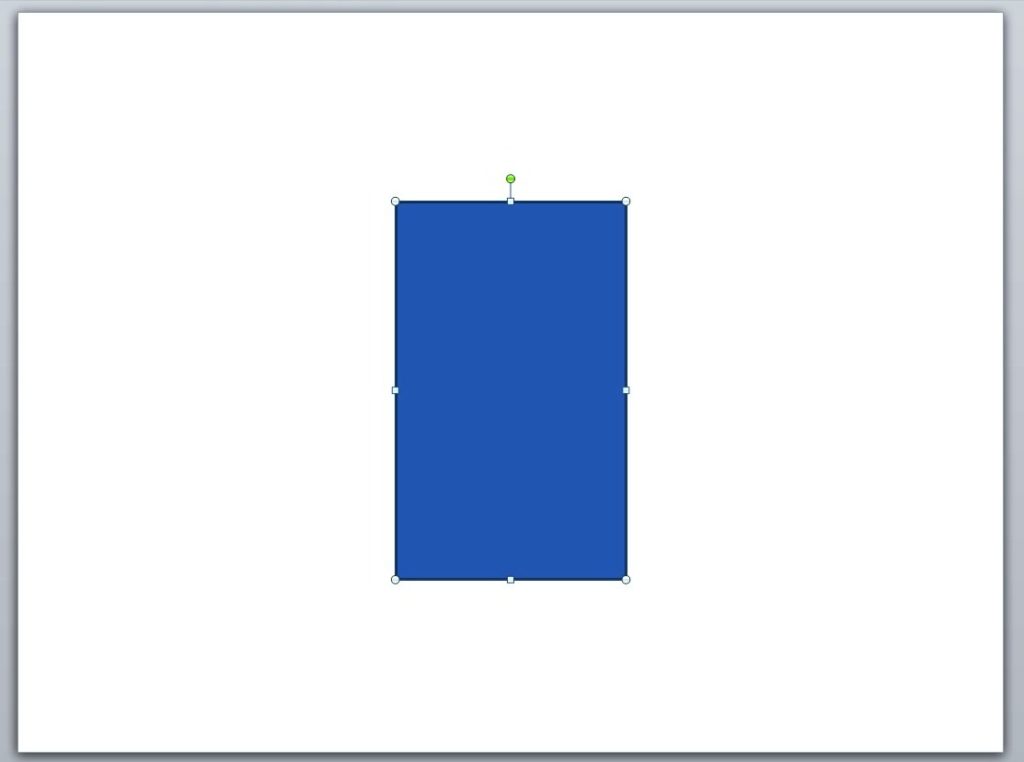
First, assuming that your PowerPoint is already open, create a new, blank slide. Then, draw the label using the Rectangular shape with a rounded border. You can find this in the Insert tab under Shapes.
label tag

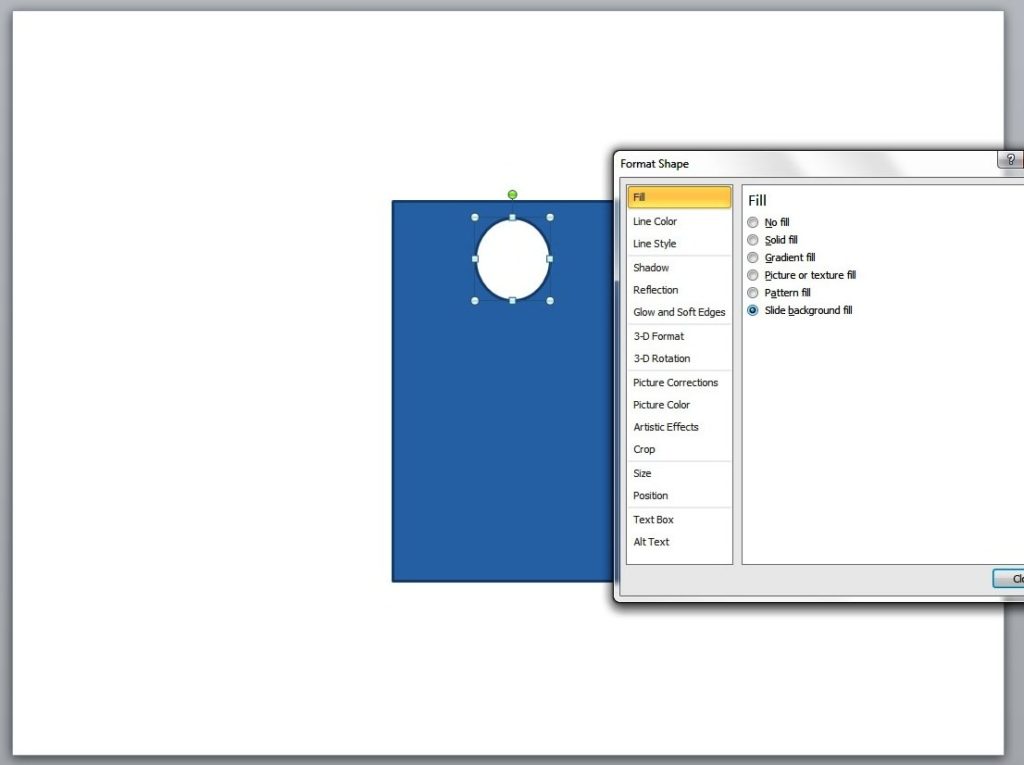
After this, select the Oval shape from the Shapes option to create a small circular shape. Put this near the top portion of the rectangle to serve as the label’s tag hole.

Filling with Color

Fill the circle with the same color as that of the slide background. Do this by right-clicking on the shape and selecting the Format Shape option. Click Fill and then select Slide background fill.
label tag2

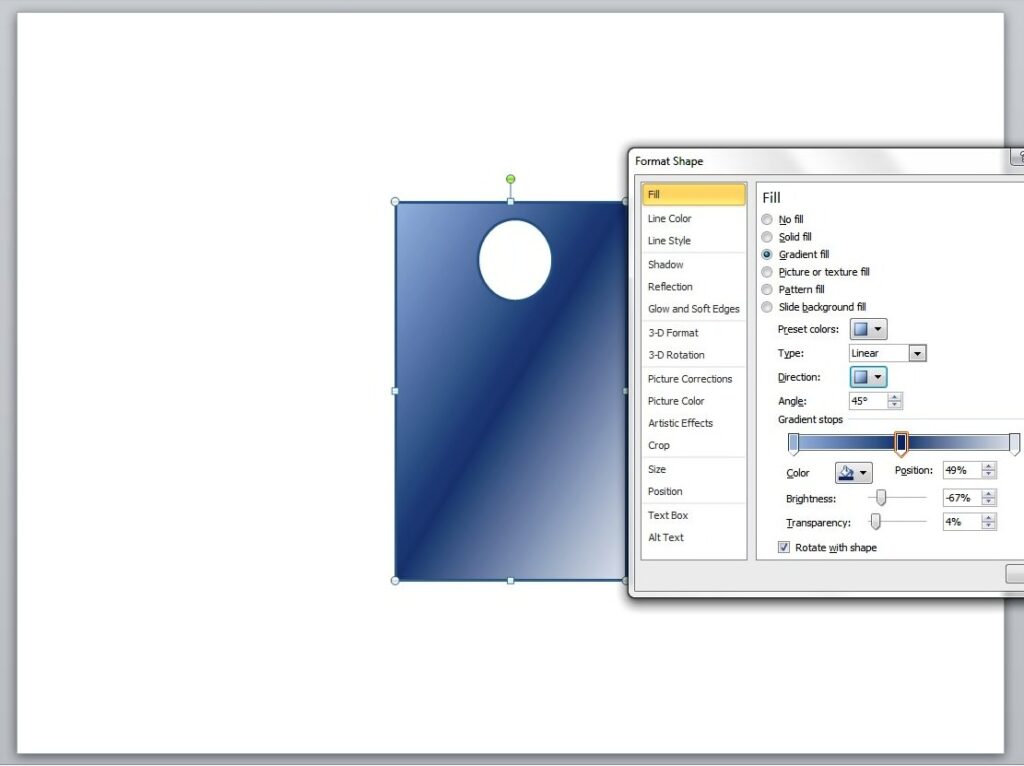
To give the label some depth, you may want to fill it with gradient color. To do this, click Fill from the Format Shape option and select Gradient fill. Depending on your preference, you may adjust the Gradient type, direction, color, brightness, and other qualities.
label tag3

Final Details

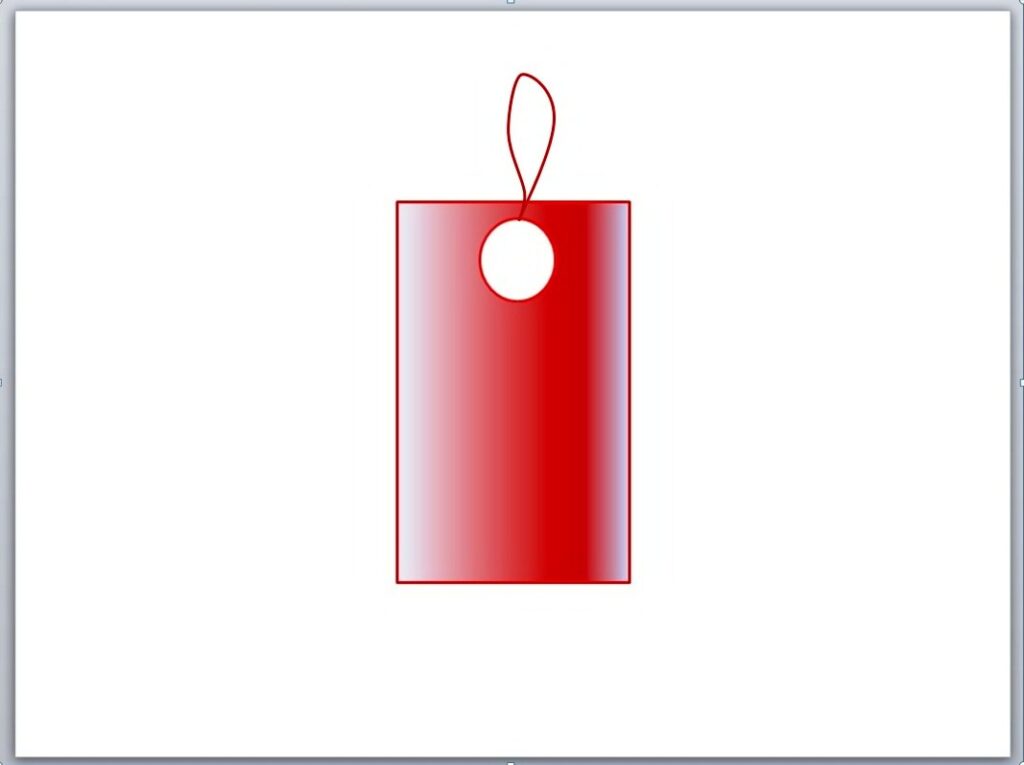
To create the label’s string, select the curve line from the Shapes option. Draw a line from the small circle and then click twice until you reach the label’s border. You may manipulate the string to give it a more natural look. Simply click on it and drag any of the visible points accordingly.
label tag6

Lastly, you’ll have to group all the shapes in a single label. Select all the elements and then right click on the label. Next, click on Group (and the other Group option that will appear) and

Next, click on Group (and the other Group option that will appear) and Voila! You now have your very own product label tag that you can use for your sales presentation. For added impact, think about adding some text inside the tags.
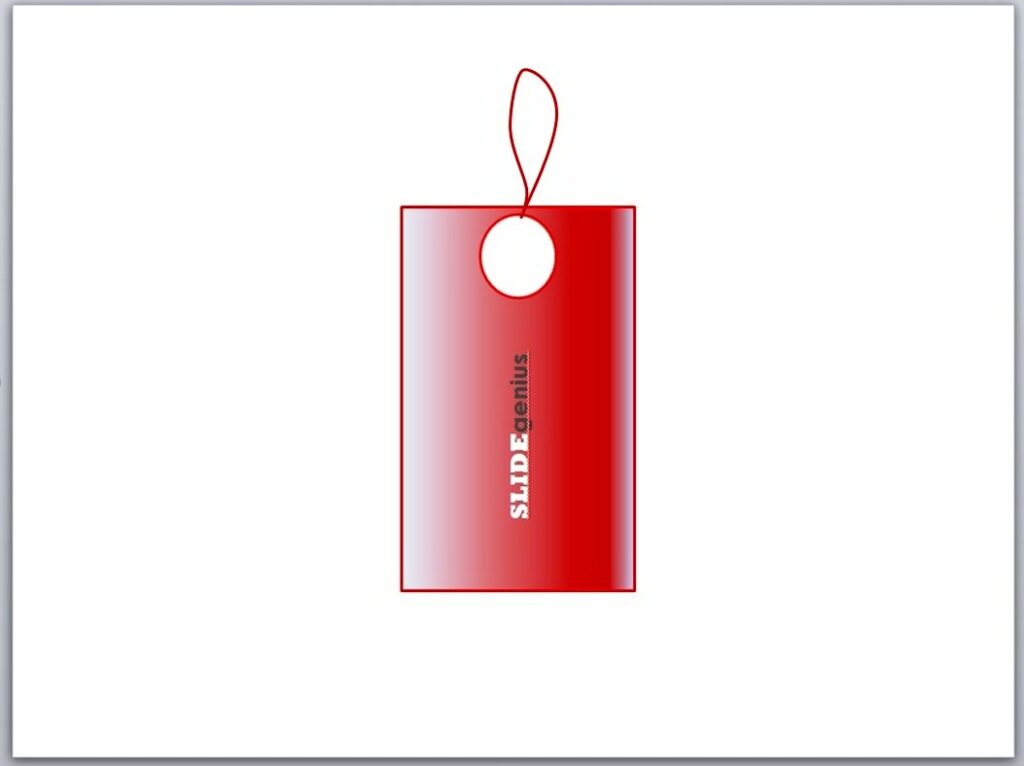
label tag7

Conclusion

An impressive deck is often eye-catching and unique, but more importantly, it should always be there to support you when you need to pitch to the crowd. Experiment with PowerPoint and add a tag to your slides. It’s simple and interesting. With just a few clicks using the Shapes tool, you’ll already have a tag-shaped image that you can spice up with text or gradients for depth.

Having trouble with your deck design? Our SlideGenius experts are always ready to help. Contact us today for a free quote!

Reference

Making Sales Presentations.” Entrepreneur. February 24, 2013. Accessed May 15, 2014.

About SlideGenius

SlideGenius.com is your business Power Point presentation expert. Based in San Diego, California, SlideGenius has helped more than 500 international clients enhance their presentations, including those of J.P. Morgan, Harley-Davidson, Pfizer, Verizon, and Reebok. Call us at 1.858.217.5144 and let SlideGenius help you with your presentation today!

Using PowerPoint Shape Tool to Create Powerful Presentations

The Shapes tool in PowerPoint is very useful for creating diagrams, graphics and other visual elements for your presentations. Its large collection of shapes allows you to add balloons, borders, arrows, and other shape designs in your presentations. This functionality also helps create custom shapes depending on your design requirements.

Working with PowerPoint Shape tool is very easy. It’s as simple as locating the Insert tab and clicking on Shapes. Doing so will launch a popup window where you can choose any shape that you need. To give you an idea, here are a couple of ways you can manipulate shapes in PowerPoint Slides:

Adding Text to Shapes

Draw a shape and then start typing to add text. By default, the texts will be centered on the shape, but you can change alignment by selecting them and using the contextual mini-toolbar.

The text will not auto-re-size, however, to stay within the shape’s borders. It simply adjusts the shape as you continue typing.

To control this, right-click on the shape and select Format Shape. Then, click Text Options and after that, Text Box. Depending on your preference, change it to either “Shrink text on overflow” or “Resize shape to fit text,”

text
Naturally, putting so much text on a shape is not exactly a great idea but at least you know how to work around it. As you create them, both text and the shape become part of the same object.

Deleting the shape will also delete the text. If you want text to be separate from the shape, redraw the shape and use the Text Box tool when you type the text. If you need to move them together, you may choose to group them.

Changing a Shape into Another Shape

Let’s do this with the arrow shape. Choose the arrow from the Shapes menu and add it to your slide.

Untitled

Clicking on it will cause two yellow diamonds appear on its opposite sides. These diamonds indicate the areas of the arrow that you can edit.

arrw


Click and hold the diamond on the left portion of the arrow. Then, try dragging it for a bit in a downward direction. You will see that this lets you control the width of the arrow’s frame. Click and hold the other diamond at the top of the arrow. Drag it to the right. Doing so allows you to manipulate the size of the pointer.

arrw2

As you control the yellow diamonds, you can change the way the arrow is shown on the slide.

These are just some of the ways you can play with PowerPoint’s Shape functionality. We’ll be doing some more demonstration in the following days, so stay tuned.

Creating a Jigsaw Puzzle Piece with PowerPoint Shapes

You can do a lot of things with geometrical shapes. Microsoft PowerPoint features a number of built-in shapes that are useful for creating diagrams in presentations. Most of the shapes, however, are pretty basic. Creating complex and interesting designs would require a bit of work.

Don’t worry. You don’t need to possess advanced knowledge in PowerPoint creation to create custom shapes. As a matter of fact, you can easily create a basic jigsaw puzzle piece just by using the PowerPoint Shape tool. Here are the steps to help you out:

Open PowerPoint and draw a rectangle.

powerpoint shapes

Then add a secondary shape, preferably oval, above your rectangle.

creating jigsaw puzzle piece

Right click on the oval and then choose Format Shape.


creating jigzaw puzzle piece | format shape

Select Fill and then on the Color menu, choose White (or background).


creating jigzaw puzzle piece | Select Fill and then on the Color menu, choose White (or background).Then, select Line Color and tick No line to remove the oval’s line border.

creating jigzaw puzzle piece | select Line Color and tick No line to remove the oval’s line border.


Select both shapes ( you can do this by pressing the shift key while selecting the two) and click on Group. Then, select Group.

creating jigsaw puzzle pieceThere you have it. You’re almost done. You just need to add a few more details by basically repeating the previous steps to make it look like an actual jigsaw puzzle piece


creating jigzaw puzzle piece… like this:

creating jigzaw puzzle pieceTo complete the design, simply create the next portion of the puzzle piece by adding a new oval shape but without shading it with a white fill.

Using jigsaw puzzle pieces as presentation tools is a creative way to get your message across. They can help you make your point as you piece together different parts of your project in your presentation. With this simple tutorial, you will be able to create your own jigsaw pieces to enhance the impact of your slides.


-->