
Back in the day, when a global connectivity system, computers, and all these technological advancements were decades, even centuries, away from being invented, no one had the trouble of choosing what font to use for their works. Everything that people had—some without much choice—were their hands and what amounted to pens. Getting something on paper was all manual labor, and how readable manuscripts were depended not only on the conventions and foundations of the language but also on how legible their penmanship was.Now, though, almost everything has become digital: messages, word-processing programs, presentations, and the like. Fitting, then, that with technology came another host of problems. Technology isn’t perfect; it gave people the power of choice from an infinite number of many things: colors, fonts, layouts, images, etc.Since the birth of PowerPoint, presenting has never been the same. Now, there are more stuff to consider when making your deck. From background to theme and, yes, fonts. How do presentation designers decide what to use? More importantly, how do you choose the perfect typeface for your slides? By answering three main questions:
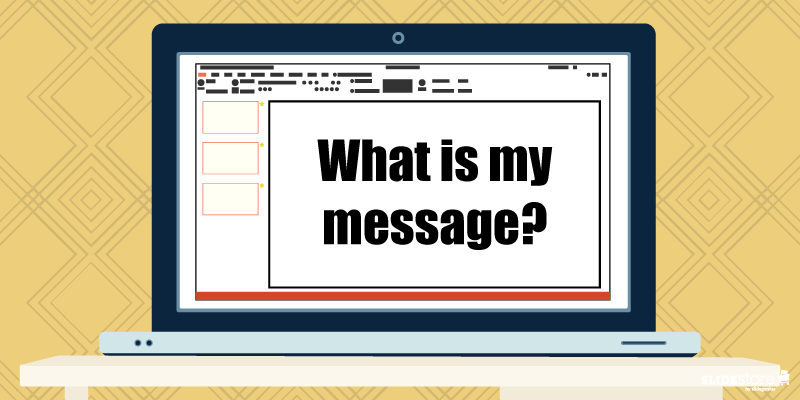
1. What is my message?
 Along with that is a follow-up question: “How do I say my message?” Your topic and how you present your data are factors that affect your decision with which font to use.If your topic is serious, then it begets an authoritative font, like the thick Rockwell or the aptly named Impact. But, if you like a quirky and light-hearted font for your topic, then something along the lines of Tahoma, Segoe, and Verdana can do the trick. When you know how font personalities affect readers’ perception, then you can easily narrow down your choices and find the one that’s apt with the gravity of your message.The worst you could do is mismatch your fonts with your theme. Have you even seen a public service announcement that used Symbol (which, for those who are unfamiliar, are letters from the Greek alphabet)? And please, no matter what, don’t use Wingdings. Your font must be appropriate. You don’t want another case of Comic Sans, do you?
2. Is it readable?
 You could answer that question in two approaches: font type and font size.In general, there are four font classifications: serif, sans serif, script, and decorative. Of the four, the first two are most widely used. Fonts belonging to the serif family are great for print since, even with small sizes, their serifs provide space and fluidity for continuous reading. Sans serif are best used when large and projected onscreen because they are clear in the sense that when serif fonts are projected, the thinner strokes of the letters tend to be muddled or appear broken-up.As for a specific font size, a good rule to live by is Guy Kawasaki’s 10/20/30 rule: 10 slides in 20 minutes with 30 font size. Maximum readability even for the people at the back is guaranteed. If anything, you could even go bigger, especially when you have a single word on your slide. It’s easily read, impactful, and memorable.
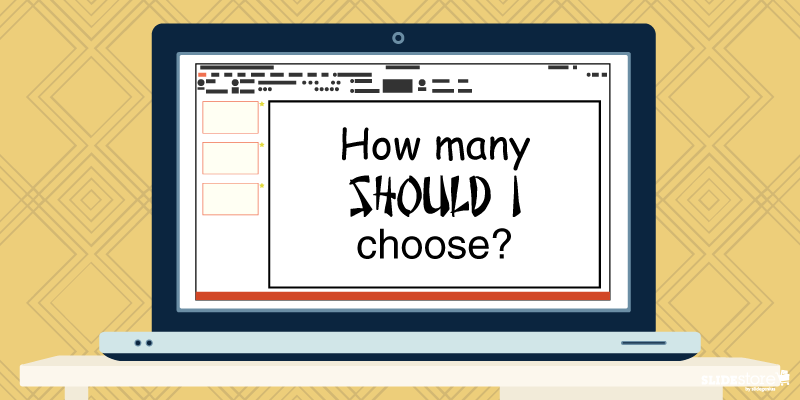
3. How many should I choose?
 This goes over into consistency territory.You’re already having trouble deciding one font; what more two or three? Generally, the usual advice is to have two complimenting fonts, a pair that doesn’t take away or fight for attention with each other. Typically, the best pair is a serif-sans serif combination, like the classic Times New Roman and Arial. But if you know font personalities, for the right topic and with the right approach, even a sans serif-sans serif combo will work in unexpected ways, like Cubano and Nunito.Of course, you don’t need to use different fonts. A major point of using combos is to highlight certain parts of your content, and stylizing a keyword or an important point differently draws attention to it.Choosing the perfect font to use on your slides is seldom easy. You could fall back to the old mindset of “As long as it’s readable,” but almost everyone does that; thus, you get the ubiquity of certain “standard” fonts that are now recommended to be avoided.Experiment with your presentation. Answer the three questions above, and you’ve got a narrow pool to choose from. When you get the harmony you’re looking for, you can then wow your audience with your talk.If you want to know more, watch this short video from our PowerPoint design agency, SlideGenius.https://www.youtube.com/watch?v=uFCEb8fU8RY
Resources:
Agarwal, Amit. “What Are the Best Fonts for Presentation Slides?” Digital Inspiration. July 17, 2012. www.labnol.org/software/tutorials/advice-select-best-fonts-for-powerpoint-presentation-slides/3355Cass, Jacob. “15 Stunning Font Combinations for Your Inspiration.” JUST™ Creative. May 5, 2015. www.justcreative.com/2015/05/05/15-stunning-font-combinations-for-your-inspirationCournoyer, Brendan. “What Are the Best Fonts for Killer Presentations?” Brainshark. March 29, 2012. www.brainshark.com/ideas-blog/2012/March/best-powerpoint-fonts-for-killer-presentationsErickson, Christine. “Not My Type: Why the Web Hates Comic Sans.” Mashable. October 3, 2012. www.mashable.com/2012/10/03/comic-sans-history/#6J_bWV037EqwGabrielle, Bruce. “The #1 Best Advice for Choosing PowerPoint Fonts.” Speaking PowerPoint. December 5, 2011. www.speakingppt.com/2011/12/05/best-fontHaley, Allan. “Type Classifications.” Fonts.com. n.d. www.fonts.com/content/learning/fontology/level-1/type-anatomy/type-classificationsKawasaki, Guy. “The 10/20/30 Rule of PowerPoint.” GuyKawasaki.com. December 30, 2005. www.guykawasaki.com/the_102030_rule