
Converting PowerPoint presentations into videos is a great way to give your speech extra engaging power. Since most people are wired to watching videos, turning your deck into another multimedia format can make your audience completely consume your content.
One of the greatest perks of exporting a presentation as a movie is that you can play videos on both mobile phones and PCs. Presentation files, on the other hand, require Microsoft PowerPoint when viewing or editing a file.
Here’s a quick tutorial on exporting your presentation into a video with PowerPoint 2013:
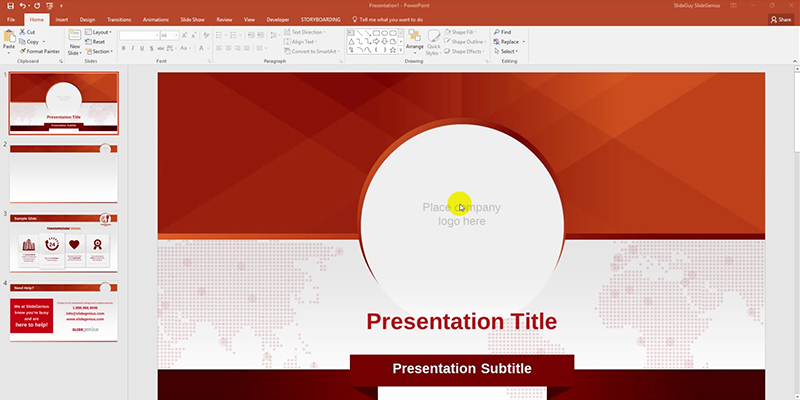
1. Open the PowerPoint presentation that you want to turn into a video.
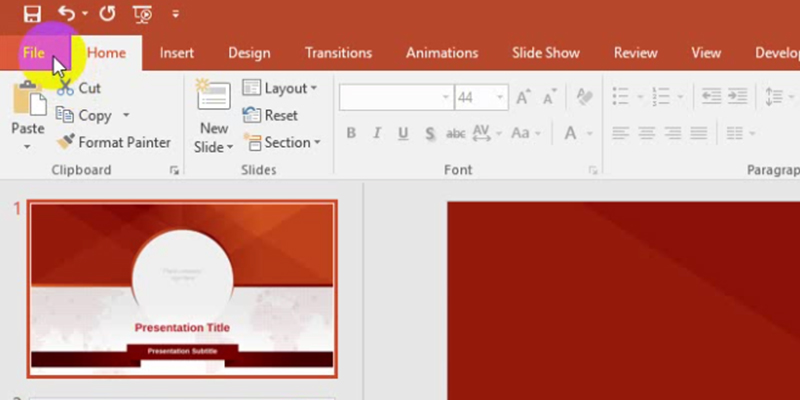
 2. In the upper-left corner of the screen, click on File.
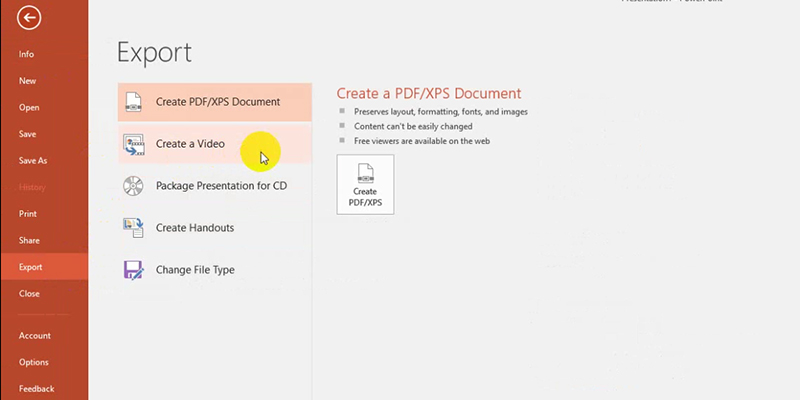
 3. In the File menu, click on Export.
 4. Choose Create a Video.
 5. The Create a Video dialog box will appear, showing two drop-down lists and a time length box.
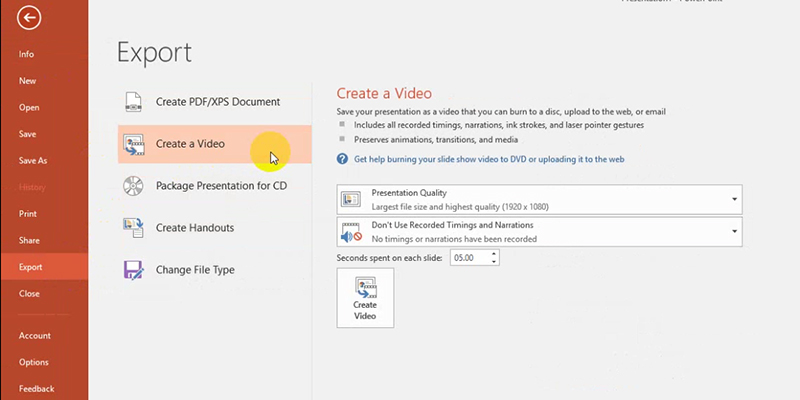 6. The first drop-down menu, labeled Presentation Quality, gives you three different quality options for your exported video.
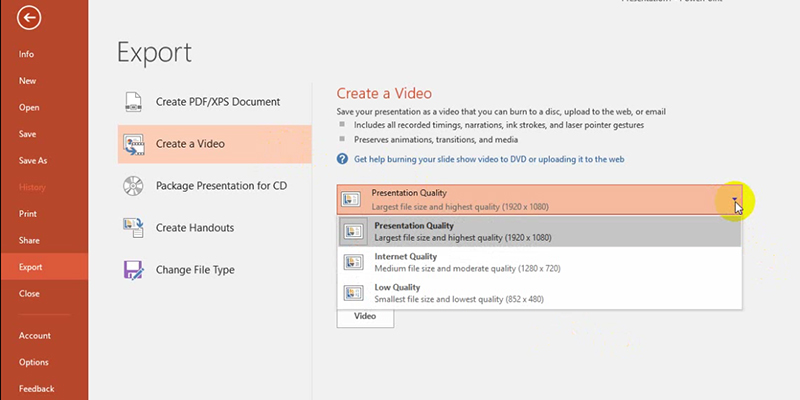 The three Presentation Quality options are:
a. Presentation Quality
 This has the largest file size, resulting in the highest quality. If you want an HD-quality video with high-end animation, we recommend choosing this one. Your video will be exported at a resolution of 1920px x 1080px.
b. Internet Quality
 This will result in a medium-sized video, with a moderate quality. Your video will be exported at a resolution of 1280px x 720px.
c. Low Quality
 This will give you the smallest file size, but also the lowest quality. Your video will be exported at a resolution of 852px by 480px.
The second drop-down box allows you to record timings and narrations for each slide. You can even record your own voice for your presentation’s narration.
 It contains the following options:
a. Don’t Use Recorded Timings and Narrations
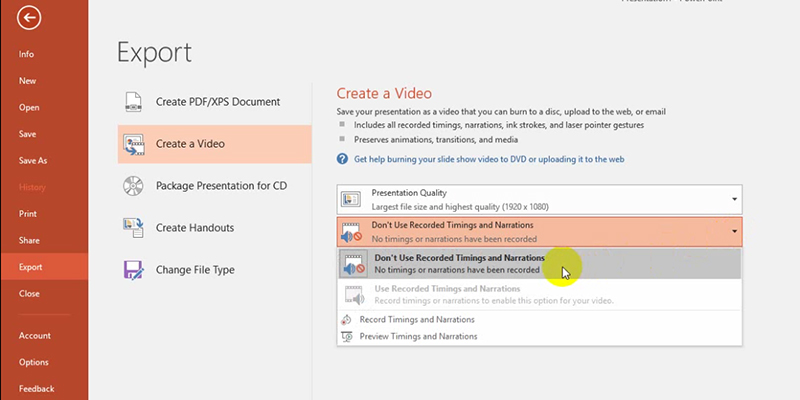 Choose this if you want each slide to stay onscreen for the same amount of time. The default time is 5 seconds.
If you want to change how long each slide will appear, you can adjust the number of seconds in the option labeled Seconds spent on each slide.
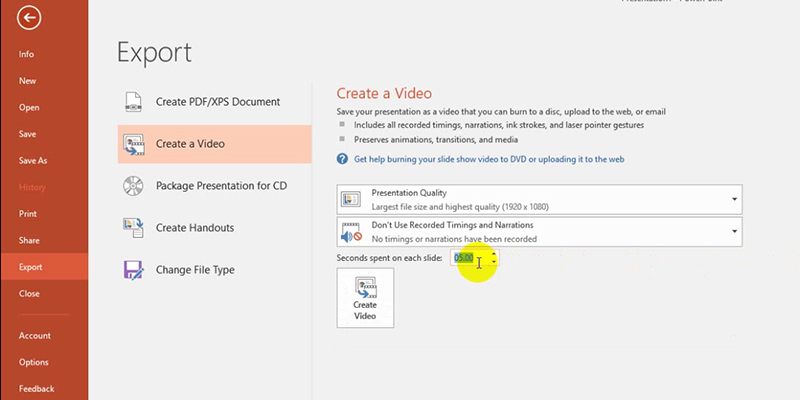 Click on the up arrow to increase it per second or click on the down arrow to decrease it. Otherwise, just click inside the text box and type how many seconds you want each slide to stay onscreen.
Take note that this option will remove any and all narrations you’ve recorded for this deck.
b. Use Recorded Timings and Narrations
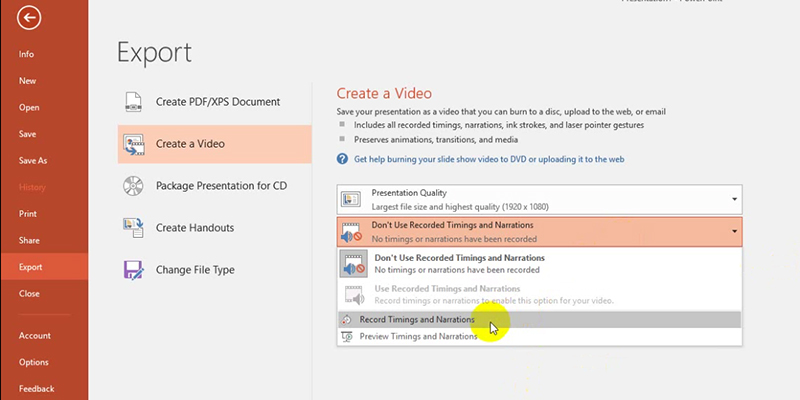 Choose Record Timings and Narrations if you’d like to record narrations or set each slide to stay onscreen for different amounts of time.
7. Once you’re done with these settings, click the Create Video.
PowerPoint will start converting your presentation into a video file.
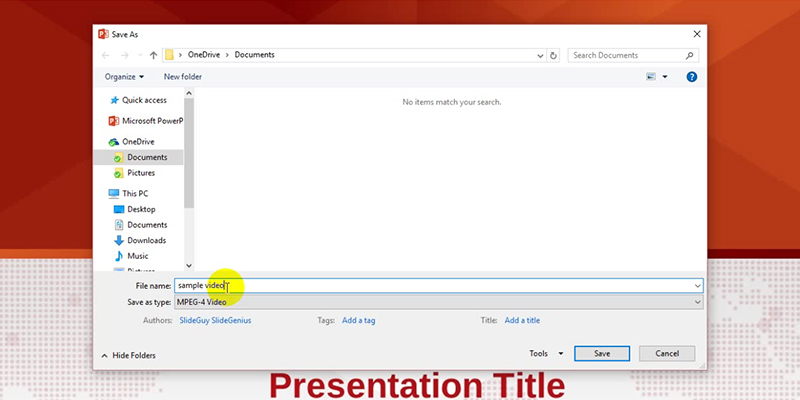
 8. When it’s done, the Save As window will appear.
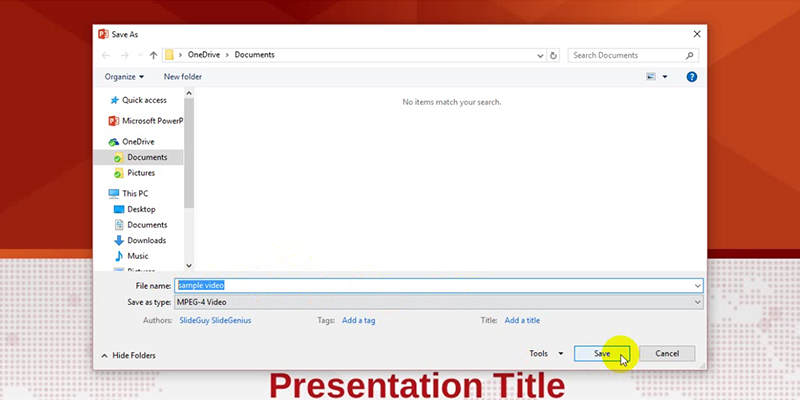
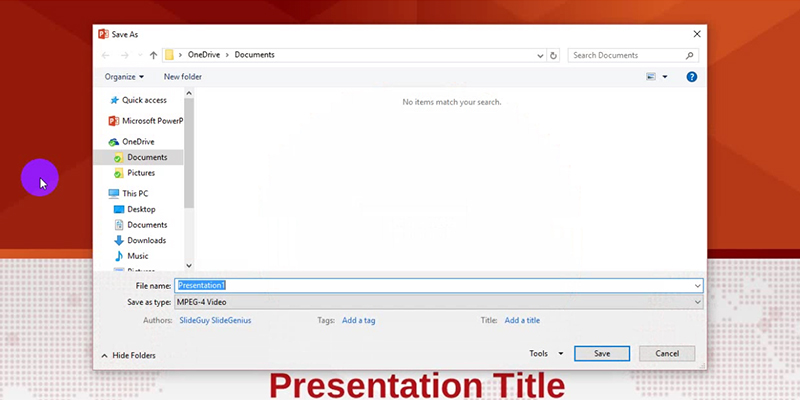 9. In the File name text box, type the name of your converted video.
 10. When you’re done, click Save.
That’s it! Enjoy your PowerPoint video file!
Uploading your PowerPoint file as a video ensures an audience by allowing you and other people to share and watch the video in an instant. Try this video conversion trick to make your work – and your life – easier!
Reference
“How to Save or Convert a PowerPoint Presentation to a Video.” How-To-Geek. n.d. www.howtogeek.com/214947/how-to-save-or-convert-a-powerpoint-presentation-to-a-video