
Last time, we created a basic timeline using shapes and tables. Today, we’re going to create another one but only this time, we’ll take advantage of the SmartArt feature in Microsoft PowerPoint 2010.SmartArt is useful for creating representations of a sequence of events in PowerPoint. This sequence of events can be a project milestone or an event timeline (which we’ll get back to in a bit).
The SmartArt Advantage
Basically, what SmartArt does is take the power and functionality of PowerPoint Shape on a different level.It allows you to mix and match shapes and text in order to create diagrams and other custom graphics. Using it strategically lets you create slides that both communicate your message and capture your audience’s attention.
Getting Started
Now let’s create a basic timeline with the help of SmartArt. You can start by opening a blank PowerPoint slide. Point the cursor to the Insert tab and click on SmartArt. Then select Basic Timeline.This is under the Process folder or the Circle Accent Timeline. As you hit OK, you will have to enter the necessary elements. (“Level 1 text appears next to larger circular shapes. Level 2 text appears next to smaller circular shapes.”)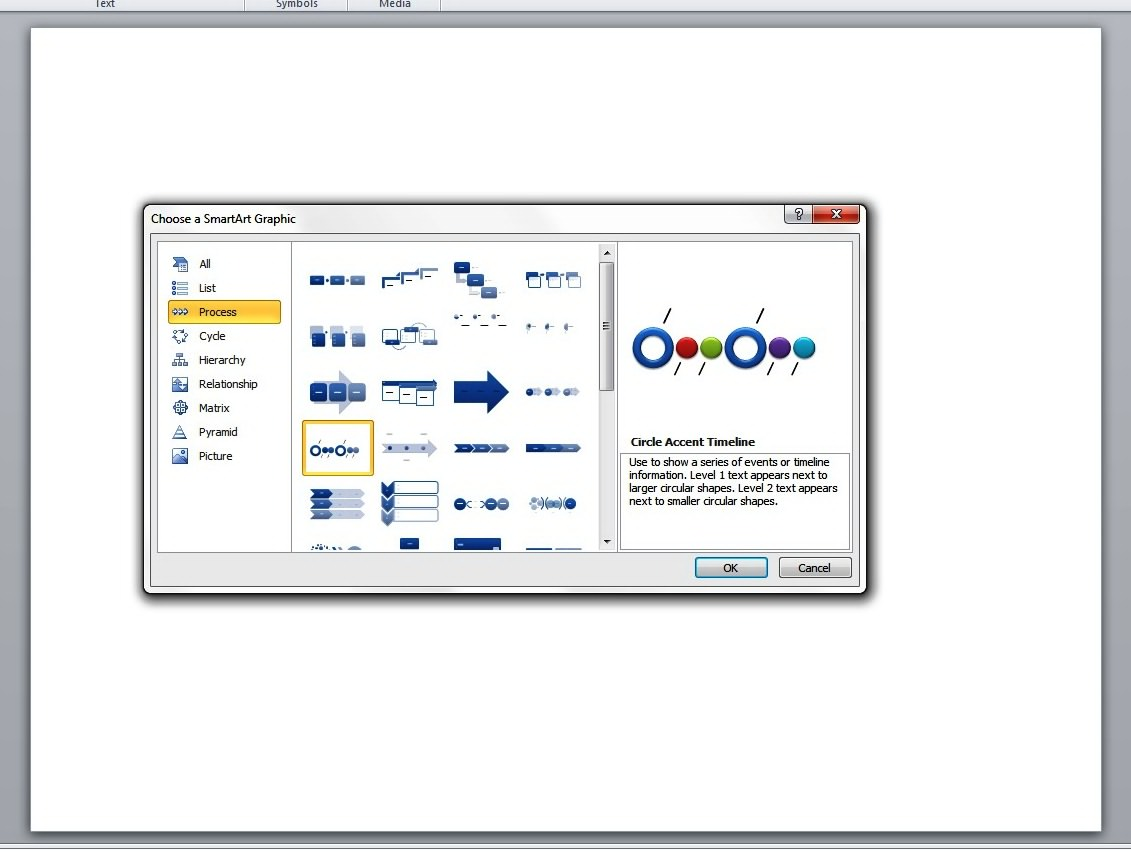
Enhancing the Look
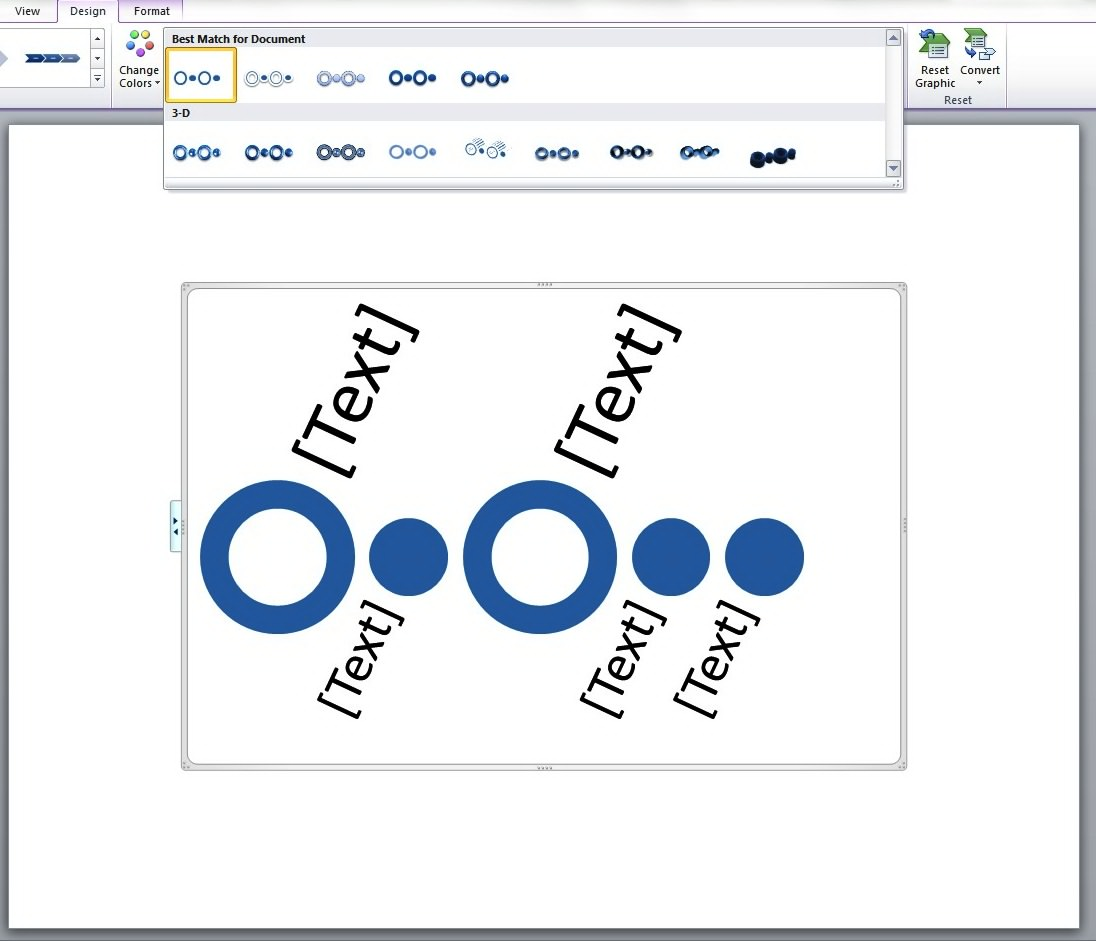
You may change the color of the graphic by clicking on the Design tag and picking the colors and effects that you want for your timeline.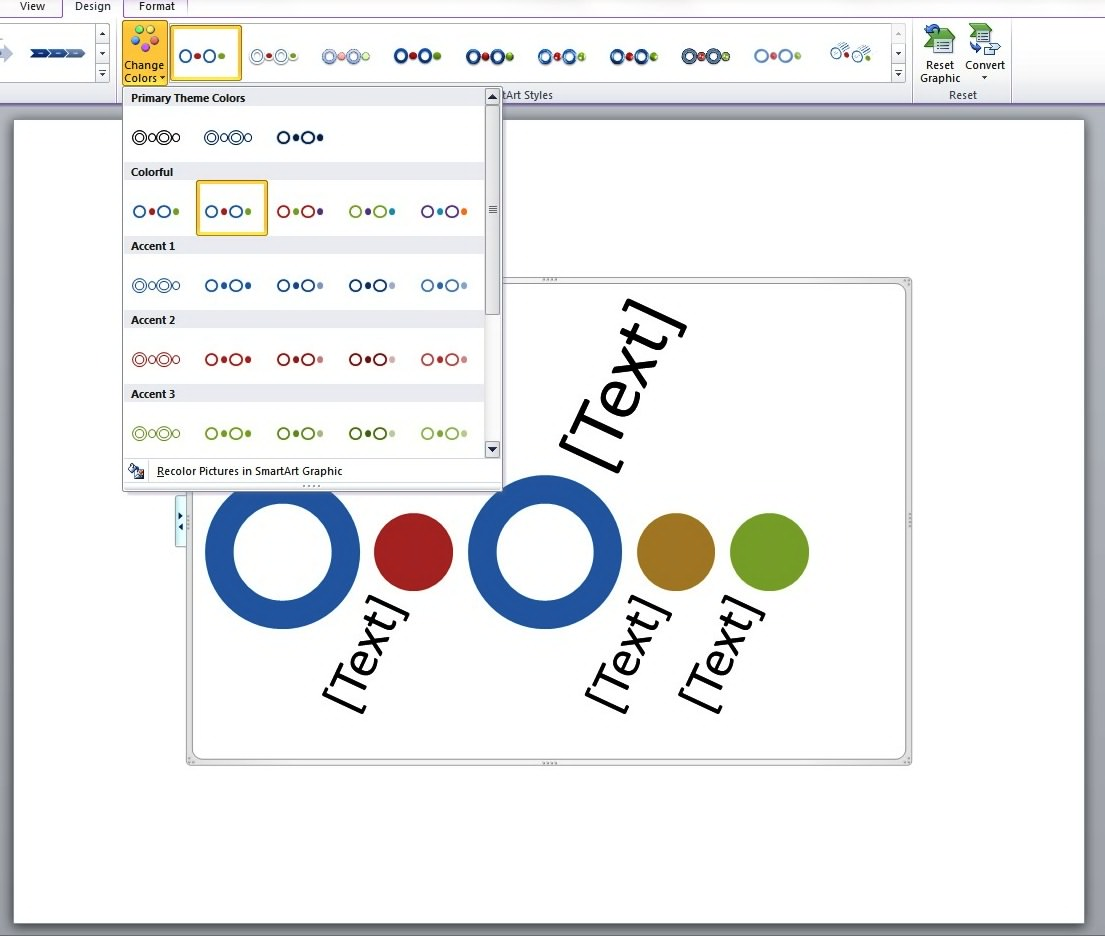
References
“Learn More about SmartArt Graphics.” Office Support. Accessed May 14, 2014.”Basic PowerPoint Timeline Creation: Shapes and Tables.” SlideGenius, Inc. May 09, 2014. Accessed May 14, 2014.
