As we mentioned previously, the secret to great content is storytelling. Once you’ve identified the story behind your core message, you can move on to the next step: Presentation Storyboarding.
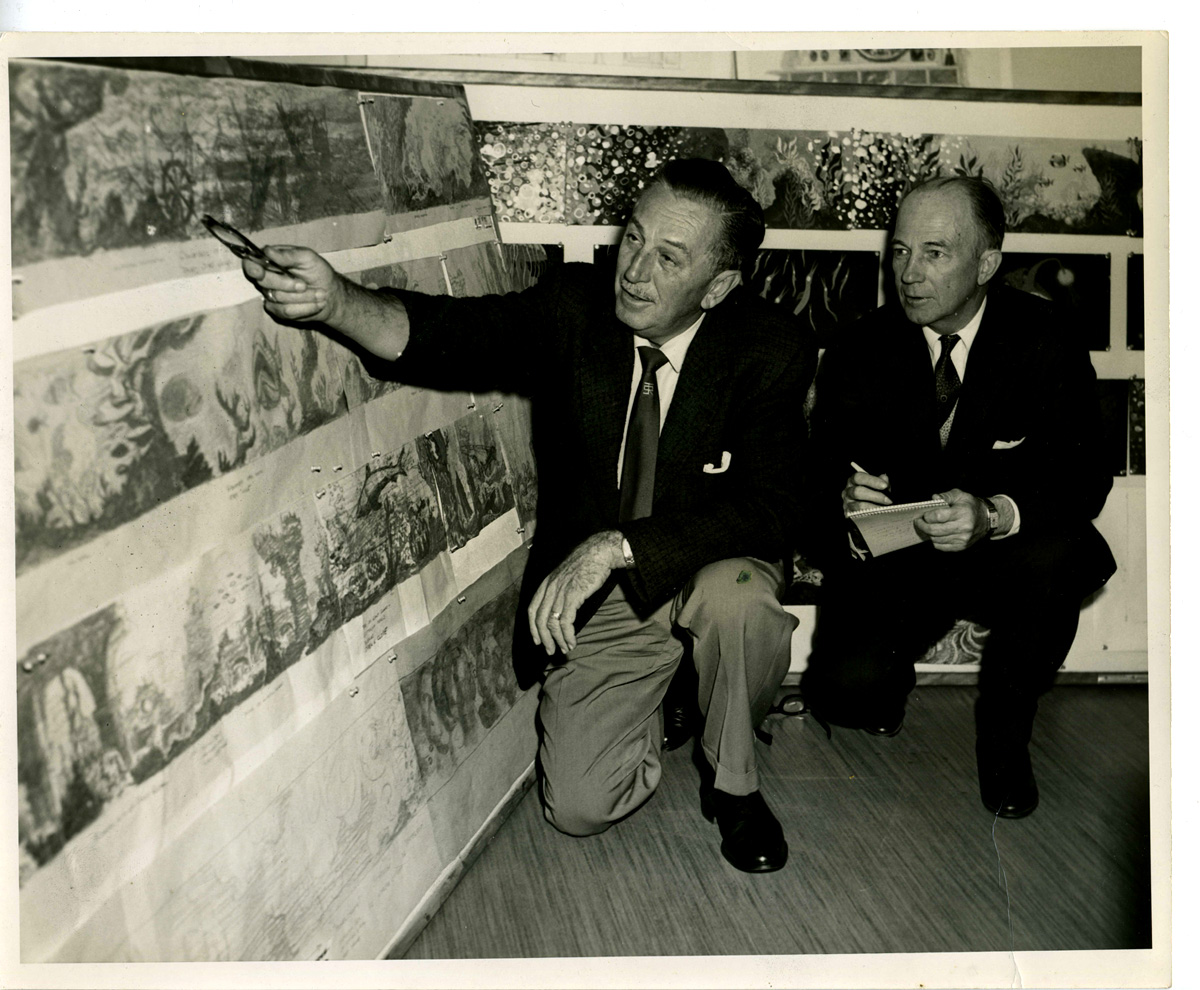
We’re taking a cue from one of the greatest storytellers in history. In his own article on storyboarding, presentation expert Garr Reynolds cites Walt Disney as someone who perfected the art of storyboarding to create and pitch some of our most beloved stories.
The quirky and funny adventures of Mickey Mouse all started as pieces of paper with rough drawings posted on a wall.
In filmmaking, storyboards are an essential step before movies go into production. Similarly, you can’t begin to build your presentation deck or practice your delivery if you haven’t properly organized your ideas into a comprehensive and structured narrative.
Through storyboards, you can easily visualize your presentation and draft how you want your PowerPoint slides to look. It also allows you to see your presentation as a whole, allowing you to see unnecessary details you can trim out.
Before you begin your presentation storyboard, you need to have a basic idea of where you want your presentation to go. The very first step is to create a working outline and try to identify your main points. Once you have it, you can begin with the storyboarding process.
Here’s the rest of what you need to know about presentation storyboarding:
1. Bring out your post-its
You don’t need fancy tools to create a presentation storyboard. All you need is a pen and a few sheets of paper. The idea is to draft each of your points into a piece of paper and tape them to a wall. In technical terms, each piece of paper is called a panel. If you remember your presentation design lessons, it’s important to limit yourself to one concept per slide.
While you don’t have to stick your storyboard on a wall, we still suggest you do it. It’s a great way to see how your presentation is progressing. And if you’re not happy with something, you can easily move some parts around. You’ll save a lot of time if you use post-its.
2. Don’t hold back
Create as much storyboard panels as you think you need. In this initial stage, you can easily cut out the things you’re not happy with. If you’re collaborating with someone else, presentation storyboarding is also a great way to help you work out each other’s ideas.
3. Keep your core message in mind
While you shouldn’t stop your ideas from flowing freely at this point, it’s also important to keep in mind the core message that you want to share. This is why creating an outline before you start storyboarding. It’s a guide to help you maintain focus on the story your presentation is trying to tell.
The important thing to remember during the presentation storyboarding process is to keep an open mind. Let your creativity flow naturally. Let your collaborates comment on your ideas, and bounce off from theirs. It’s all about swimming through different concepts to find the ones that tell your core message best.
If you need more information about creating custom storyboards for your big presentation, we’ll be happy to help. Contact us for a consultation and we can make solid content for your presentations.
Featured Image: Death to the Stock Photo