In learning more about slide designs, comparing the before and after versions is very important. This is because it allows you to take note of the improvements in a deck’s quality as it goes through the design process. On the part of the PowerPoint designer, it gives them an idea on the best way to approach a project. This is especially true if they are handed with a previously conceptualized design.
Let’s take a look at the following examples of slide designs.
From Meh to Memorable
It doesn’t take a genius to understand that the “after” version looks more appealing than the “before” one. Taking the latter into consideration still matters because as a designer, it gives me a jumping-on-point for conceptualizing a new and, possibly, a better idea. I knew, from looking at the before slide, that white text on a plain blue background just doesn’t work. For the client, this can be a revelation! That PowerPoint presentations don’t have to be boring. In fact, when used creatively, a slide deck can be an effective tool for presenting a brand in a memorable and engaging manner.
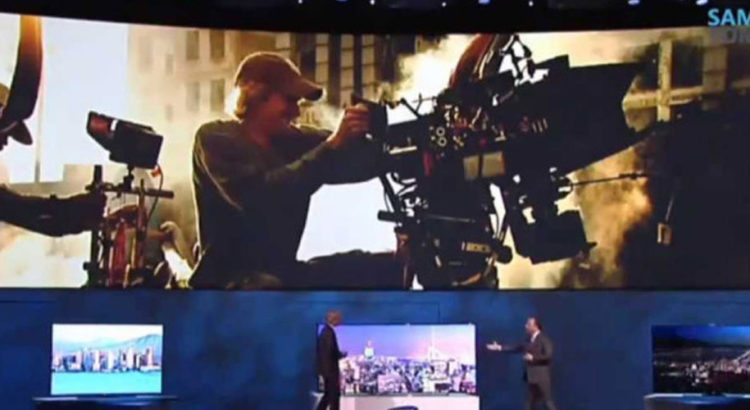
Here is another before and after shot of a PowerPoint design. Try to critique the before version by asking yourself such question as “How can I make this slide look better?” Then take a look at the after slide and see if the changes made meet your standard or if they are something that you would apply yourself.
Images Make a Difference
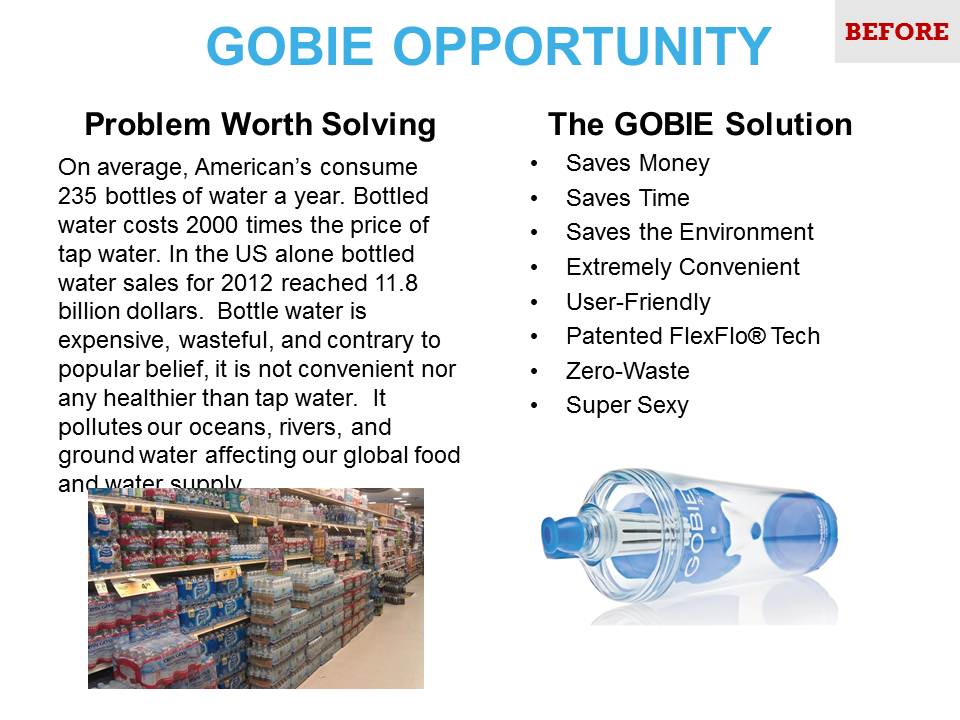
Adding too much text on a slide turns it into a piece of document. And instead of focusing on what the presenter is saying, the audience would rather read ahead. A better approach would be to organize the blocks of texts and add some relevant images. You may also want to apply entrance and exit animation effects to the texts to maintain your audience attention and keep them from reading ahead of you.
Here’s another excellent use of images and minimal texts. This time, one entire concept is divided into two separate slides for better impact.
From this:
To these:


It’s alright to trim the text content as all the information could come directly from the presenter. To keep the slide from looking crowded, we only used the main points of the message and added a better visual backdrop.
Ultimately, it pays to be critical of the before slides. This gives you the chance to identify what’s wrong with the overall PowerPoint design and how to make the necessary improvements. If you’re working with a professional presentation designer, the most common changes that will pointed out to you would be the formatting, use of imagery, and the general look and feel of the deck. All of these factors contribute greatly to creating impressive after slides.